Starch Gelatinization: Why You Must Wait Before Slicing
The most common frustration in our workshops: "My bread looks perfectly baked, the crust is golden, but the crumb is gummy and sticky when I cut it. What went wrong?"
The answer, almost always: nothing went wrong with the bake. You simply cut too early.
Wheat flour is roughly 72–75% starch by dry weight. Starch is tightly packed, semi-crystalline granules made of two polymers: amylose and amylopectin. At room temperature, starch granules absorb almost no water. Your dough feels like dough, not bread.
What Is Starch Gelatinization?
Gelatinization is the process by which starch granules absorb water and swell dramatically. When the dough's temperature reaches 60°C (typically 12–15 minutes into baking at 240°C), starch granules begin absorbing water rapidly—swelling to 5–10 times their original volume. The granules' crystalline structure breaks down. Amylose molecules leach out into the surrounding aqueous phase. Above 85°C, gelatinization is essentially complete. Your dough transforms from dough into bread.
This is not a subtle change. It is a phase transition. The starch network shifts from crystalline and semi-solid to a swollen, gel-like matrix that holds moisture and gives bread its characteristic texture.
Why Gummy Crumb Happens—And How to Diagnose It
Here's where bakers get confused. There are actually two kinds of gummy crumb, and they have opposite solutions:
The dough interior never reached 85°C. Starch granules are still partially swollen and incompletely gelatinized. This is a baking problem. Solution: return the loaf to the oven for 5–10 more minutes.
The loaf was fully baked (core reached 94–96°C), but you cut it before the interior cooled enough. Steam trapped inside cannot redistribute evenly. Cutting releases steam preferentially at the cut surface, leaving the interior temporarily gummy. This is a resting problem. Solution: wait longer before cutting.
How to Tell Them Apart
Tap the bottom of your loaf. Listen carefully.
- Hollow, resonant sound: Crust is set, interior is done. The gumminess is steam. Let it rest. This is Type 2.
- Dull, dense thud: The interior is still partially moist-dough-like. This is Type 1. Return it to the oven immediately.
If you're uncertain, use a thermometer. Insert a digital probe into the loaf's center. If it reads 94–96°C (white sourdough) or 96–98°C (whole grain), your loaf is baked. The gumminess is resting-related, not baking-related.

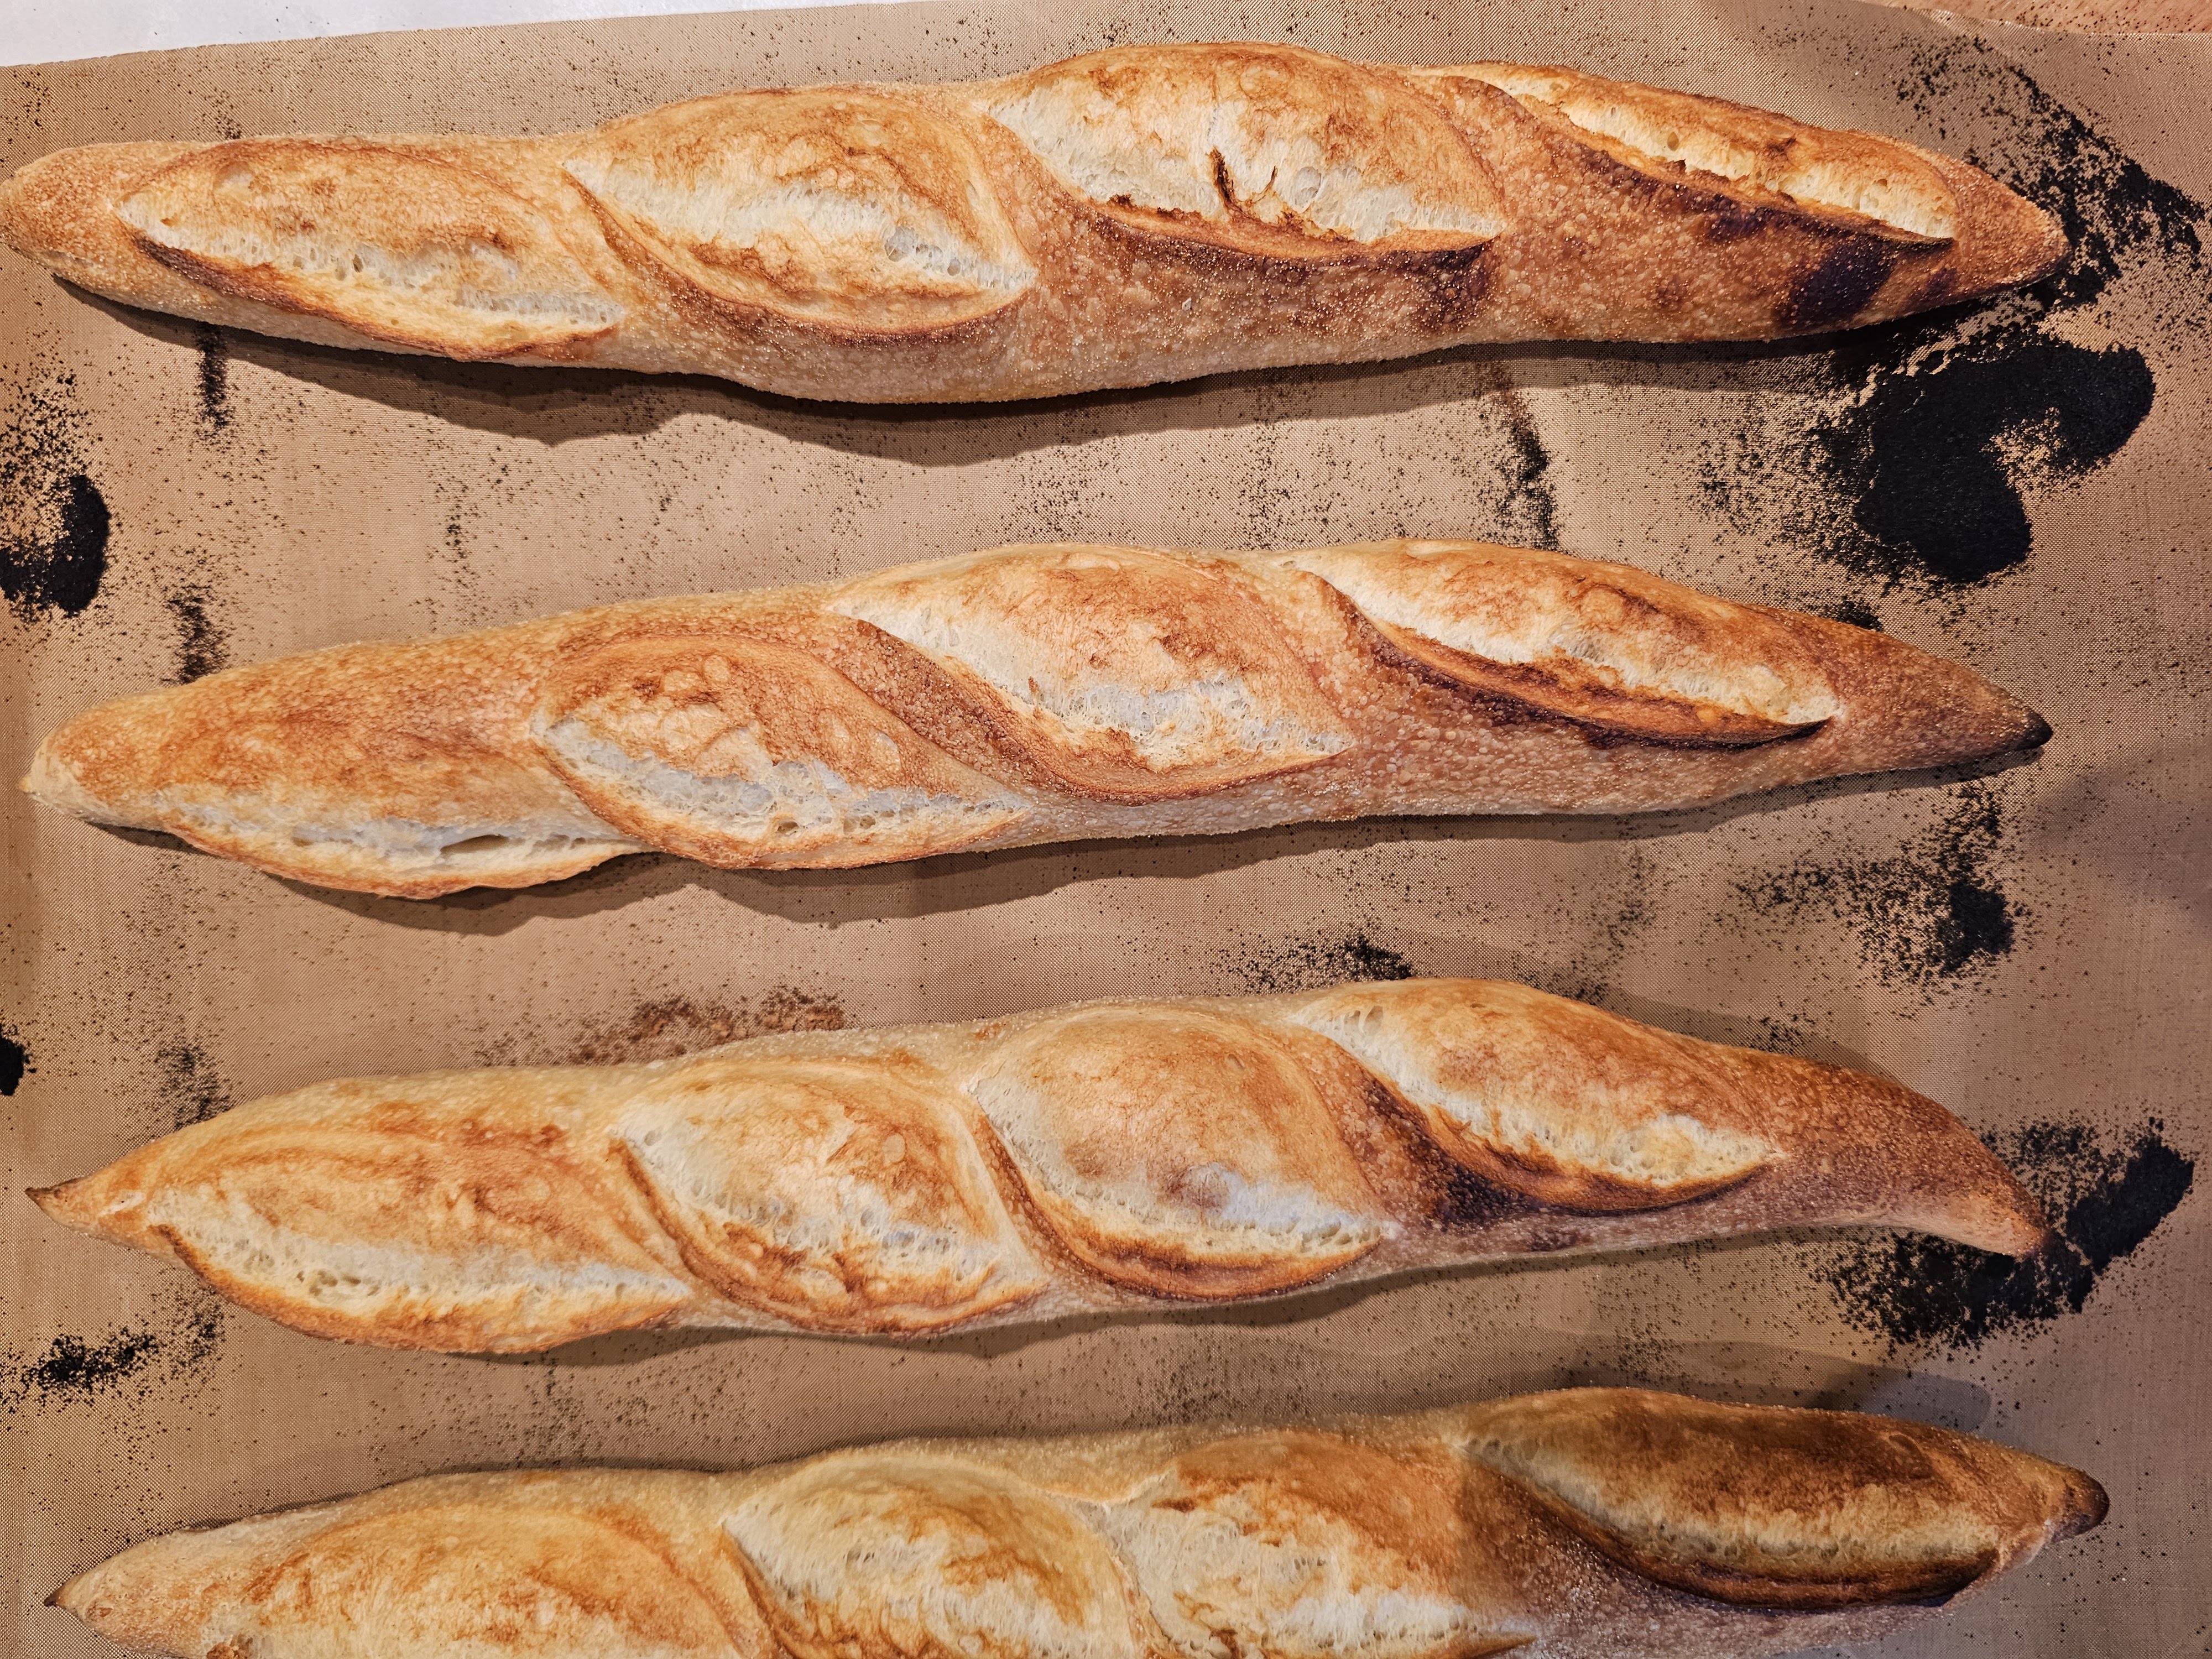
A properly rested crumb after complete gelatinization and cooling
The Resting Protocol
Minimum resting time before cutting:
- 800–1000g loaf: 45 minutes minimum, 1 hour better, 2 hours optimal
- Interior temperature when cutting: approximately 30–35°C (warm to touch, but not hot)
During this rest period, three crucial things happen:
- Steam redistributes evenly: Trapped moisture vapor moves from the hot center toward the cooler crust, equilibrating the moisture gradient. This transforms the interior from "wet and gummy" to "moist and tender."
- The starch network hardens: Gelatinized starch continues a slow process called retrogradation, where amylose molecules partially recrystallize and cross-link. This gives the crumb structure and resilience—it holds together when sliced instead of tearing apart.
- The crust softens from inside: Moisture migrating inward from the center softens the crispy crust slightly, creating that ideal texture: shatteringly crisp on the outside, tender inside.
Why Sourdough Rests Differently
Sourdough's lower pH (3.8–4.5 vs. 5.5–6.0 for commercial yeast bread) has subtle effects on gelatinization timing and the starch network.
Gelatinization onset: Lower pH slightly delays the start of gelatinization. It begins at 62–65°C in sourdough vs. 58–60°C in commercial yeast bread—a difference of only 1–2 minutes in the oven. This is negligible for most home bakers.
Starch preservation: Alpha-amylase (the enzyme that degrades starch) is less active at sourdough's acidic pH. This means less starch degradation during gelatinization. The starch granules remain more intact, more structurally complete. Paradoxically, this produces a better crumb: more stable, more open, more resilient. Properly made sourdough crumb is flexible and moist; it holds together beautifully when sliced.
Over-fermented or under-baked sourdough, by contrast, has a compromised starch structure. It tears instead of slices, becomes gummy, falls apart.
The Practical Resting Checklist
Remove loaf from oven. Place on cooling rack (this allows air circulation and faster, even cooling). Set a timer. Resist the temptation to cut until:
- At least 45 minutes have passed
- The loaf feels warm to the touch, not hot
- The crust has lost its dry, papery feel and become slightly flexible
- If using a thermometer: interior reads 30–35°C
For optimal results, wait 2 hours. Yes, two hours. Your bread is finished. It's not getting better in the oven. It's getting better on the cooling rack.
A Note on Bread Machines and Home Ovens
Bread machines cool more slowly because they retain heat. If you're baking in a bread machine, add 10–15 minutes to your cooling time before cutting. The same rule applies to Dutch ovens: they hold heat longer than open baking, so remove the loaf from the Dutch oven immediately after baking and let it cool on a wire rack.
The next time you pull a loaf from the oven, take a breath. Your work is done. The starch granules are gelatinizing. The structure is forming. Just wait. In 1–2 hours, you'll slice into a perfectly textured crumb that holds together, tastes wonderful, and justifies every minute you spent crafting the dough.